Moving into a new property feels exciting, but the reality is that most homes carry more grime than they show. Dust accumulates in vents, previous tenants leave residue in appliances, and surfaces that look clean often harbour bacteria. Understanding the right move-in cleaning tasks for new tenants before you unpack a single box sets a healthy foundation that generic advice rarely covers properly. This guide takes you room by room, explains why timing matters, and tells you exactly which spots most people miss.
Table of Contents
- Key takeaways
- 1. The most important move-in cleaning principle: timing
- 2. Gathering your supplies before you start
- 3. Kitchen deep cleaning: appliances and surfaces
- 4. Bathroom sanitisation: removing buildup and starting fresh
- 5. Living areas and bedrooms: dusting and floors
- 6. High-touch zones and hidden areas most tenants overlook
- 7. Prioritising tasks: a quick-reference overview
- My honest view on move-in cleaning
- Let Sealightshine take care of the hard work
- FAQ
Key takeaways
| Point | Details |
|---|---|
| Clean before unpacking | Tackling your new home while it is empty gives you full access to every surface. |
| Work top to bottom | Starting high and finishing with floors prevents dust falling onto already-cleaned areas. |
| Kitchen and bathroom first | These rooms carry the highest germ load and should always be your first priority. |
| Disinfect after cleaning | Applying disinfectant to dirty surfaces reduces its effectiveness; clean first, then disinfect. |
| Hidden zones matter most | Vents, appliance interiors, and cabinet liners are where the real grime hides. |
1. The most important move-in cleaning principle: timing
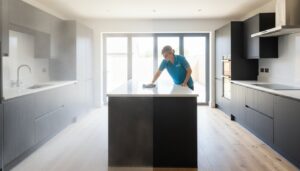
The single biggest advantage you have as a new tenant is an empty property. Cleaning before movers arrive lets you reach every corner, every baseboard, and every inch of flooring without navigating around furniture and boxes. Once your belongings are in, quality drops and effort doubles.
If moving day is non-negotiable, prioritise bathrooms, kitchen countertops, main floors, and high-touch surfaces first. These are the areas you will use immediately and the ones most likely to affect your health.
Pro Tip: Book your clean for the day before your moving van arrives if at all possible. Even two to three hours in an empty property covers far more ground than a full day around boxes.
2. Gathering your supplies before you start
You cannot clean effectively without the right tools ready before you begin. Showing up with a single bottle of multi-surface spray will not get the job done.
Here is what you need:
- Microfibre cloths in two colours (one for general surfaces, one for toilets and drains)
- A HEPA filter vacuum cleaner
- Mop and bucket
- Degreaser for the kitchen
- Disinfectant spray and disinfectant wipes
- Baking soda and white vinegar for natural odour and grease removal
- Scrubbing brush and old toothbrush for grout
- Extendable duster for ceiling fans and high vents
- Rubber gloves and disposable gloves
Separating your cloths by colour prevents cross-contamination between toilet areas and food preparation surfaces. It sounds simple, but it is one of the most overlooked habits in home cleaning.
3. Kitchen deep cleaning: appliances and surfaces
The kitchen demands the most effort and the most attention to detail on any new apartment cleaning checklist. Previous tenants leave behind grease, food residue, and odours that sit in places you would not normally check.
Start with appliances:
- Oven: Remove racks and soak in hot water with washing-up liquid. Spray the interior with oven cleaner, leave for the manufacturer’s recommended time, then wipe clean.
- Fridge: Remove all shelves and drawers. Wash with warm soapy water. Wipe the seal and check for mould.
- Microwave: Heat a bowl of water and lemon juice for three minutes, then wipe the softened residue away.
- Dishwasher: Run a vinegar cycle to remove grease and odours, then clean the filter by hand.
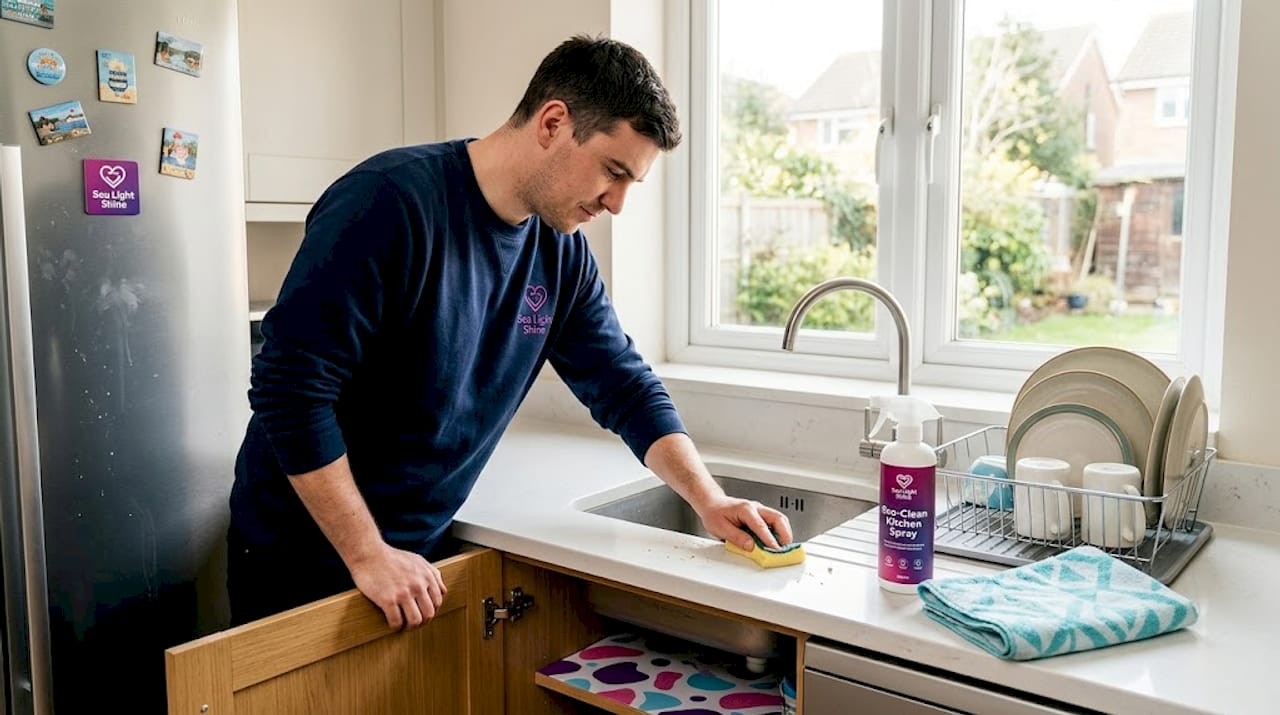
After appliances, sanitise countertops, the sink, and the tap area thoroughly. Remove any drawer and shelf liners left by the previous tenant, wipe the surfaces underneath, and replace with fresh liners. Degrease the stovetop, the range hood, and the wall tiles behind the hob.
Pro Tip: Pour baking soda down the kitchen sink drain and follow with white vinegar to neutralise any residual odours before you start using it daily.
4. Bathroom sanitisation: removing buildup and starting fresh
Bathrooms are the highest priority on any move-in deep cleaning list because they carry the greatest risk of bacterial and fungal residue. Disinfect toilets inside and out, including the base, the back of the bowl, and behind the tank where moisture collects.
Work through the room systematically:
- Scrub the shower or bath, paying close attention to grout lines and the caulk around the base
- Remove and clean the shower door tracks where soap scum and mildew build up
- Scrub floor tiles and the area surrounding the toilet with disinfectant
- Clean the sink, taps, and mirror
- Wipe light fittings and any ventilation covers
One detail people miss consistently: the exhaust fan cover. Unscrew it, wash it with warm soapy water, and let it dry before replacing. A clogged fan cover reduces air circulation, which leads to faster mould growth once you are living there.
One critical point on technique. Disinfectants require wet contact time on a surface to be effective. A quick spray and wipe removes the product before it can work. Apply, wait the required time shown on the label, then wipe.
5. Living areas and bedrooms: dusting and floors
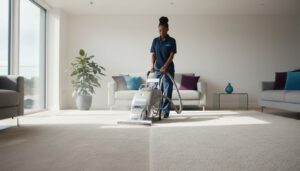
The living room and bedrooms carry less biological risk than kitchens and bathrooms, but they still hold considerable dust and allergens. The top-to-bottom cleaning workflow applies here more than anywhere. Start high and finish low.
Work through each room in this order:
- Dust ceiling fans, light fittings, and any air vents
- Wipe window sills, window frames, and blinds
- Wipe down all doors, door frames, and handles
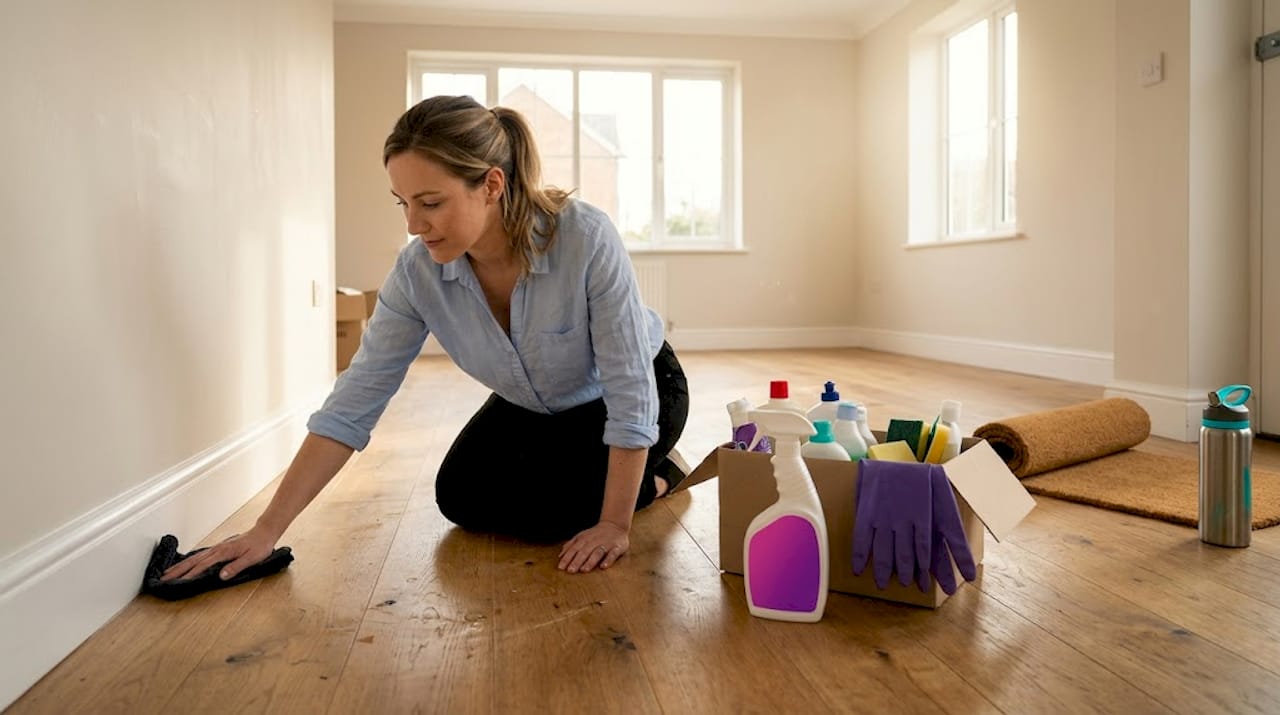
- Clean skirting boards and switch plates
- Wipe inside wardrobes and built-in shelving
- Vacuum all corners, edges, and the areas beneath radiators
- HEPA vacuum floors thoroughly before mopping hard floors with a suitable cleaner
Here is a quick reference for floor care in each room type:
| Room | Floor type | Recommended method |
|---|---|---|
| Bedroom | Carpet | HEPA vacuum, focus on edges and under radiators |
| Living room | Hard wood or laminate | HEPA vacuum then damp mop |
| Hallway | Tile or vinyl | Vacuum then disinfectant mop |
| Wardrobe floor | Any | Vacuum and wipe with damp cloth |
Do not mop before you have vacuumed. Mopping over loose dust and debris creates a thin film of grime rather than removing it.
6. High-touch zones and hidden areas most tenants overlook
This is where the gap between a surface clean and a genuine deep clean becomes obvious. Cleaning hidden zones before moving in improves indoor air quality and means you are not dealing with accumulated grime for months after you arrive.
The areas to target specifically:
- Door handles and light switches throughout the entire property
- Thermostat controls and any appliance control panels
- Cabinet and drawer handles in the kitchen and bathroom
- Return air grilles and vent covers (unscrew, wash, and dry before replacing)
- Behind and underneath the fridge and washing machine
- The inside of the washing machine drum and seal
The order you work in matters as much as the products you use. Clean surfaces first to remove visible dirt and oils, then follow with disinfectant. Applying disinfectant over thick residue renders it far less effective.
Pro Tip: Keep a small spray bottle of disinfectant and a cloth in your bag on move-in day. As each room is cleared and cleaned, do a final wipe of all handles and switches before putting anything down. It takes two minutes and starts your tenancy on genuinely hygienic ground.
7. Prioritising tasks: a quick-reference overview
Not every task carries equal weight. Use this table to triage your time and effort, especially if you are working to a tight schedule before moving day.
| Task | Room | Effort | Priority |
|---|---|---|---|
| Disinfect toilet inside and out | Bathroom | Low | Critical |
| Clean inside oven and fridge | Kitchen | High | Critical |
| Wipe all cabinet and drawer handles | Throughout | Low | High |
| Scrub shower grout and tracks | Bathroom | Medium | High |
| Clean vent and exhaust fan covers | Throughout | Medium | High |
| Wipe skirting boards and door frames | Throughout | Low | Medium |
| HEPA vacuum and mop all floors | Throughout | Medium | Medium |
| Clean inside wardrobes and shelving | Bedrooms | Low | Medium |
| Degrease range hood and stovetop | Kitchen | Medium | Critical |
| Clean behind fridge and washing machine | Kitchen/Utility | Medium | High |
Tasks marked Critical should happen before you spend time on anything else. High priority tasks follow immediately after. Medium tasks are important but can follow once the critical areas are done.
My honest view on move-in cleaning
I have spoken with hundreds of tenants over the years, and the pattern is always the same. People underestimate the cleaning effort, rush through it on moving day surrounded by boxes, and spend the next three months discovering grime in new places.
The biggest myth is that landlords always leave properties in genuinely clean condition. A property can look spotless and still have a filter clogged with dust, a fridge seal harbouring mould, and a shower track full of residue. These are not signs of bad landlords. They are signs of routine cleaning that never went deep enough.
What I have found actually works is treating the cleaning session as its own separate event. Block out a half day or full day before moving day. Take it room by room. Do not skip the oven, do not ignore the vents, and always check the seal on every appliance.
If you are short on time or the property genuinely needs a professional-level reset, do not try to cut corners on kitchen and bathroom disinfection. These are the two areas where I would always recommend professional help over a rushed DIY effort. A move-out cleaning service guide can also help you understand what landlords expect and how cleaning at both ends of a tenancy protects your deposit.
The tenants I see handle move-in cleaning well are the ones who treat it as an investment, not a chore. You do the work once, properly, and your home stays manageable for far longer.
— Kate
Let Sealightshine take care of the hard work
Moving is already demanding without adding a full deep clean to the list.

Sealightshine provides professional move-in deep cleaning across East Anglia, covering exactly the tasks that take the most time and effort. That means full kitchen deep cleans including appliances, thorough bathroom sanitisation, ventilation cleaning, and complete floor care. If your new property needs a proper reset before you settle in, the Sealightshine team arrives punctually, works systematically, and leaves the space genuinely clean rather than surface-level presentable. For properties that need specialist floor cleaning services including deep vacuuming and mopping of hard floors, that is covered too. Get in touch to discuss what your new home needs before moving day.
FAQ
What should I clean first when moving into a new home?
Start with the kitchen and bathroom, as these rooms carry the highest germ load. Work top to bottom in each room, finishing with floors once all surfaces are done.
Do I need to clean before my furniture arrives?
Yes. Cleaning is most effective when the property is empty, giving you full access to floors, walls, and hidden areas without navigating around boxes.
How long does a move-in clean take?
A thorough clean of a two-bedroom flat typically takes four to six hours for one person. Larger properties or those in poor condition will take longer and may benefit from professional support.
Why is disinfecting different from cleaning?
Cleaning removes visible dirt and grease. Disinfecting kills pathogens, but only works properly when applied to an already clean surface and left wet for the required contact time.
Which areas do tenants most commonly miss?
Vent covers, exhaust fan grilles, the inside of appliances, cabinet handles, and the area behind and underneath the fridge and washing machine are consistently overlooked on a standard move-in clean.
Recommended
- What is a move-out cleaning service? Your deposit guide – Sealightshine
- Your essential home cleaning checklist for a spotless home – Sealightshine
- The Ultimate End of Tenancy Cleaning Checklist for Ipswich (2026 Edition) – Sealightshine
- How to Master Your Tenancy Deposit Cleaning in Ipswich: A 2026 Step-by-Step Guide – Sealightshine